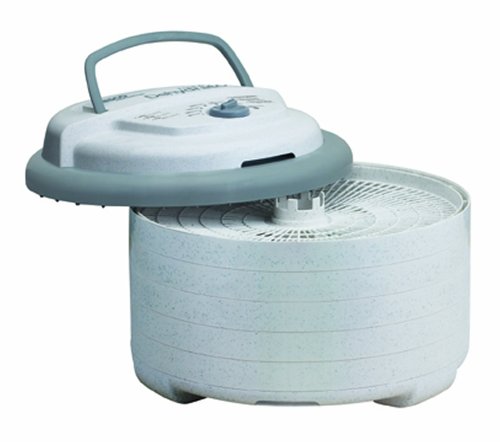
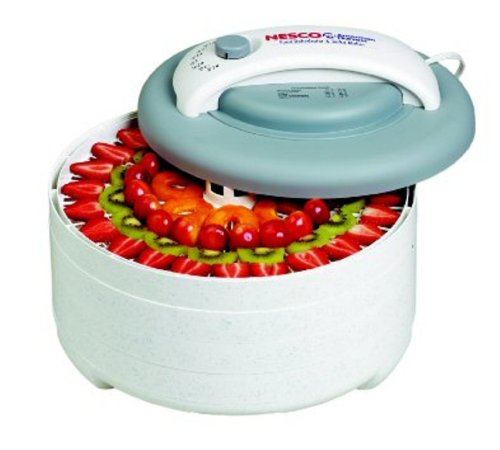
Everything needed to dry fruit, vegetables, jerky and more. 500 Watts power plus patented coverage flow for even drying. No more rotating trays. U.S.A.
S'mores are one of the best campfire treats in the world (right after pudgie pies) with gooey toasted marshmallow melting smooth and luscious milk chocolate thats nestled between two crisp pieces of graham cracker. YummmmI want one (okay, two or three) right now (even though as I am writing this it is snowing outside and there is already more than 2 feet of snow on the ground.)
But although I have been brave and adventurous about trying many variations of s'mores I am still a purist at heart. To me there is only one way to make them and the choice of the three ingredients needed (marshmallows, chocolate, and graham crackers) is as important as the preparation process.
Marshmallows First of all, the marshmallows need to be fresh. Don't try to use up the half bag of marshmallows leftover from last year that are as hard as a rock. Crack open your wallet and spend a dollar or two on a fresh bag. Campfire brand marshmallows are best if you can find them, but Kraft's are pretty good too. Buy the big ones. Dont mess around with the miniature marshmallows.
Chocolate - Theres only once choice and that is a Hersheys milk chocolate candy bar - 3 pieces per smore.
Graham crackers - Honeymaid honey grahams are the best. Dont try to get creative and use the cinnamon flavored ones - theyre just yucky with smores.
Preparing the smore is as important as the ingredients. But let's talk about equipment first. In the "good old days," before restrictions on disturbing anything in nature at campgrounds and parks, if you wanted to toast marshmallows you went to a tree and broke off a long skinny branch. You pushed your marshmallow on the branch and started toasting. That's what I did as a kid (I didn't go camping as a child but we often toasted marshmallows over the hot coals of our charcoal grill at home). It didn't matter that the marshmallow often tasted faintly of tree sap nor did we ever stop to consider how many bugs or birds had touched that piece of wood and left things on it that are better left unsaid.
There are now roasting forks available at any large discount store or sporting goods store with an outdoor/camping section. Buy a hot dog fork instead of a marshmallow fork and skip the fancy retractable or folding ones. They have a tendency to retract or fold when you don't want them to. A hot dog fork works better than a marshmallow fork because the two prongs are farther apart which makes it easy to roast two marshmallows at once and because they are usually longer than marshmallow forks. Plus, then you'll have a fork that can do double duty, roast marshmallows and cook hot dogs or sausages. You can get a good quality hot dog fork for under $10 and sometimes for less than $5.
Okay, let's get back to making that s'more. Place one or two marshmallows on the hot dog fork. Toast the marshmallow to a golden brown over the campfire, remembering to turn the marshmallow so its toasted on all sides, not just on the third of it thats closest to the fire. Notice that I didnt say to start it on fire and char it to unrecognizable blackness. Marshmallows are not meant to be ignited and charred to a crisp. If your campfire is shooting up 3 foot flames, wait. Marshmallow roasting is best done with the wood is ashy and has glowing embers, which means you will have a hot fire with very little flame.
Immediately transfer the marshmallow to a graham cracker half that has 3 pieces of Hersheys milk chocolate on it (or both marshmallows if you managed to get them both toasted without losing one to the campfire and if you like a really gooey s'more; otherwise be a "sharer" and give the extra marshmallow to someone else). Using the other graham cracker half, squish the marshmallow so that it covers all the chocolate to start melting it. Stop squishing when the marshmallow starts oozing out the sides of the graham crackers.
Then quickly eat it before someone steals it from you and enjoys the perfect smore you have made. Share the secrets of making smores with everyone you know and encourage them to practice; otherwise you'll be spending all your campfire time making s'mores for everyone else and what fun is it to make them if you don't get to eat them?
And if someone tells you that you can make a smore in the microwave that tastes just as good as one made over a campfire, they are a liar or they have never had s'more made over a campfire.
Oh and I forgot one last thing you will need and that is wipes to clean up your sticky and gooey hands after eating your masterpiece!
D Ruplinger is an avid camper and is the content developer for CampingEarth.com. For more on how to make smores, please visit her site. Also, if you're thinking about going camping, but you're not sure if an RV or what kind of RV is right for you, then be sure to read her RV guide.
dehydrator
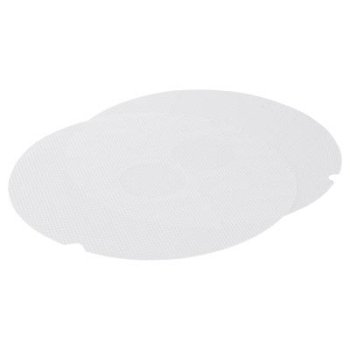 Screen flexes to remove sticky fruits and jerky quickly and easily. Herbs and spices wont fall through tray spokes. Includes 2 screens. Dishwasher safe. U.S.A.